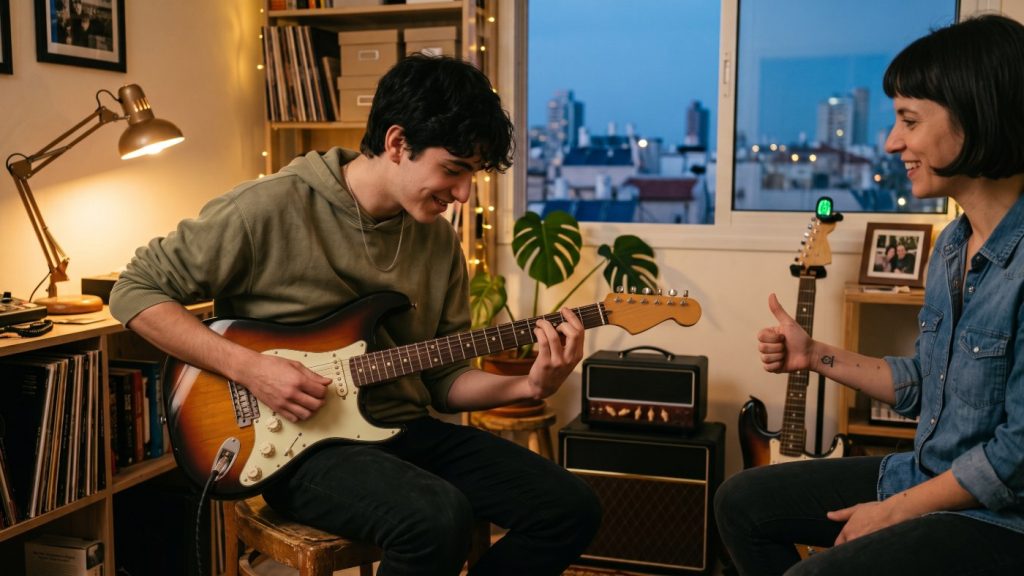
Almost every guitarist knows the moment. Your first songs are coming together, G, A and E ring out nicely, and then a song with an F chord shows up. Your index finger lies across all six strings, your hand cramps, three strings buzz and one doesn’t sound at all. This is where a lot of people decide guitar “just isn’t for them”. It’s the wrong conclusion. The F chord isn’t a test of strength or talent. It’s a test of technique, and technique can be learned.
We wrote this guide for the students we see every week at our music school in Ramat Aviv Gimel: high-schoolers from Neve Avivim who want to play the songs on their playlists, Tel Aviv University students, and adults from Tzukei Aviv and Kokhav HaTzafon picking the guitar back up after years away. In our guitar lessons for teens and adults in North Tel Aviv, barre chords are a stop everyone has to make. Here’s how to get through it without wrecking your hand – or your motivation.
Why is the F chord so hard?
A barre chord is any chord where your index finger presses several strings at the same fret, effectively replacing the guitar’s nut. The classic F is an open E major shape moved up one fret: index across all six strings at fret 1, middle finger on the G string at fret 2, ring and pinky on the A and D strings at fret 3. In tab shorthand: 133211.
There are three reasons it’s every beginner’s least favourite chord:
- Position. At the first fret the strings sit at their highest point relative to the frets and need more pressure. The same shape at fret 5 is far easier.
- One finger, six jobs. Your index has to fret the low E, B and high E cleanly while the other fingers cover the middle strings. Any crease or knuckle that lands right on a string will buzz.
- The squeeze habit. Most beginners rely on force, mostly from the thumb – the road to pain and a hand that gives up in 30 seconds.
The right technique: relaxed thumb, arm weight and a smart index finger
1. The index finger: bony side, close to the fret
Don’t lay your index flat on its soft pad. Roll it slightly onto the side facing the headstock, so the firmer, bonier edge of the finger does the pressing. Place it right behind the metal fret wire, not in the middle of the space. The closer your finger is to the fret, the less force you need for a clean note.
If the B or high E string lands in a knuckle crease, shift the finger a few millimetres until it sits on flat skin.
2. The thumb: support, not a clamp
Your thumb sits behind the neck, roughly opposite your middle finger, around the middle of the neck or slightly lower. Its job is to provide a pivot point, not to squeeze. Try this: play the F, then lift your thumb off the neck for a second. If the chord still sounds roughly right, you’re on track. If it collapses completely, your thumb is doing all the work.
3. Arm weight: let your back do the work
Here’s the secret most beginners never hear. Instead of pinching with the finger, you “pull” the guitar gently towards your body with your whole arm – the big muscles of the shoulder and back. Sitting down, your picking arm holds the guitar’s body against you while your fretting arm draws the neck slightly back. When that happens, your fingers need very little force of their own.
4. The minimum-pressure test
Put the F shape at fret 5 (that’s an A major, 577655). Press until every string rings clean, then slowly release until the buzzing starts. The point just before the buzz is the pressure you actually need – and in most cases it’s far less than you thought. A good teacher in a one-to-one guitar lesson will spot within a minute where your effort is leaking – thumb, wrist or an elbow drifting outwards – and that saves weeks of trial and error.
Legitimate shortcuts: partial barres and the “mini F”
Not every barre needs six strings. Professionals use partial versions all the time, and they make excellent stepping stones:
- Fmaj7 (xx3210): no barre at all. It sounds soft and fits plenty of pop songs and ballads.
- Mini F (xx3211): the index presses only the B and high E strings at fret 1 – a tiny two-string barre. Middle finger on G at fret 2, ring on D at fret 3. Four strings, a full F sound, far less effort.
- Thumb-over F: here the thumb wraps around the neck and frets the low E at fret 1, as plenty of rock and blues players do. It isn’t cheating – it’s an established technique, as long as your hand and grip suit it.
- Partial A-string barres: for chords like Bm you can start with xx4432 – just four strings – before moving to the full x24432.
The rule: use the shortcuts to play songs now, and practise the full barre for a few minutes every day alongside them.
Metronome drills: from fret 5 to a clean F
Open an online metronome and work through these in order. Don’t raise the tempo until a drill is clean three times in a row.
| Drill | What to do | Start tempo | Goal | Time |
|---|---|---|---|---|
| Press and release | Index-only barre at fret 5 across all strings: one beat press and strum, one beat release completely | 60 BPM | 80 BPM | 2 min |
| String by string | Full chord at fret 5, pick each string separately, one per beat, fix any string that buzzes | 60 BPM | 80 BPM | 2 min |
| Land from the air | Lift your hand off the neck, land the whole shape at once on beat 1, strum, release | 60 BPM, land every 4 beats | 80 BPM, land every 2 beats | 3 min |
| Slide down | Same shape at fret 5 (A), then 3 (G), then 1 (F). Four beats per position | 60 BPM | 90 BPM | 3 min |
| Real changes | C–F, Am–F and F–G, four beats per chord, then two | 60 BPM | 90 BPM | 4 min |
| A-string barres | Bm (x24432) and C#m (x46654), same press-and-release method | 60 BPM | 80 BPM | 2 min |
That’s about 15 minutes in total. If your hand starts to genuinely hurt – not just tired fingertips, but pain in the wrist or thumb – stop, shake it out and come back later. For the chord switch itself, our guide on how to change guitar chords fast and in time is worth a read.
Common mistakes (and how to fix them)
- Squeezing with the thumb. The sign: a white thumb and a burning wrist after a minute. The fix: the “thumb lift” test and working with arm weight.
- Flat index on the pad. The soft pad swallows the strings. Roll slightly onto the bony side.
- Finger too far from the fret. A few millimetres closer to the fret wire removes much of the pressure you need.
- Elbow drifting outwards. When the elbow moves away from your body, the wrist bends sharply and the fingers lose strength. Bring the elbow back in a little.
- High action. If the strings sit too high above the frets, even perfect technique will feel like a fight. Check it early – read our guitar setup guide, because sometimes an adjustment by a tech changes everything.
- Strings that are too heavy. On an acoustic, 12-gauge sets and heavier are harder to fret. A light or extra-light set can help during the first months.
- Hour-long sessions. Your hand needs time to adapt. 10–15 minutes every day beats one hour once a week.
A 4-week plan: from “it won’t work” to F in a real song
| Week | Focus | Goal by the end of the week |
|---|---|---|
| 1 | Technique at fret 5: press and release, string by string, the minimum-pressure test. Use Fmaj7 or mini F in songs | A barre-shape A major (577655) clean in 4 out of 5 attempts |
| 2 | Slide down to frets 3 and 1, landing from the air, first work on the full F | A full F with at least 5 of 6 strings ringing clean |
| 3 | C–F and Am–F changes at 60–70 BPM, start on Bm | A C–F change within 4 beats without stopping |
| 4 | A complete song with a barre chord, first with the metronome, then with the original recording | Play a song start to finish with a full F, even if it’s not perfect yet |
After four weeks like this, most students don’t have a “perfect” barre yet – but they no longer get stuck on it. Once the shapes sit in your hand, it’s worth understanding why the same shape becomes a different chord at every fret; our explainer on major scales and keys sorts exactly that out.
Well-known songs for practising barre chords
Practise barres inside songs you actually love. A few that come up a lot in lessons:
- Let It Be – The Beatles (one clear F in a simple progression)
- Hallelujah – Leonard Cohen (in C, with a recurring F)
- House of the Rising Sun – The Animals (F inside a minor progression)
- Californication – Red Hot Chili Peppers
- Creep – Radiohead (B and Cm – A-string barres)
- Hotel California – Eagles (Bm and F# – for a later stage)
- Hey, Soul Sister – Train (B and C#m on guitar; ukulele on the original)
Learning barre chords in North Tel Aviv
At Rockstar – the music school in Ramat Aviv Gimel – we don’t teach barres as a dry exercise. Lessons start with partial shapes and songs the student picked, work on arm weight and a relaxed thumb with a teacher who plays for a living and can see your hand up close, and check the guitar itself – sometimes the problem is high action, not your fingers. Our students come from all over North Tel Aviv, from North Afeka to Neve Avivim. And if you find yourself wanting to hold down the band’s groove as well, take a look at our bass guitar lessons – quite a few guitarists discover a second instrument there.
FAQ
How long does it take to learn the F chord?
For most students who practise 10–15 minutes a day, a usable F arrives within three to six weeks. A smooth change at full tempo takes a few weeks more. Once a week is slower – not for lack of talent, but because your hand never gets time to adapt.
Is it normal for it to hurt?
Tender fingertips and mild fatigue in the hand muscles are normal in the first weeks. Sharp or lingering pain in the wrist, thumb or elbow is a sign to stop and check your technique – and if it doesn’t go away, see a doctor or physiotherapist.
Is it easier on an electric guitar?
Usually, yes. Electric guitars tend to have lighter strings and lower action, so barres need less pressure. The technique is identical, though.
Is using a mini F or a capo “cheating”?
No. Partial shapes and capos are legitimate tools that professionals use too. The only problem is using them so you never learn the full barre, because without it a large part of the neck stays closed to you.
Where can I take guitar lessons in North Tel Aviv?
At Rockstar’s music school in Ramat Aviv Gimel, a short drive from Tzukei Aviv, Kokhav HaTzafon, Neve Avivim and North Afeka. We also offer home lessons in North Tel Aviv through Rockstar Home, subject to teacher availability in your area. Read more about our music school in Ramat Aviv Gimel, or simply book guitar lessons in North Tel Aviv – the first intro lesson comes with no commitment.
Read also: A smart 20-minute daily practice routine · Jimi Hendrix Guitar Style · How to Play Avi HaTahol
Guitar lessons · All lessons · Contact us · Book a free intro lesson